Monday, October 21, 2013

pumpkin patch weekend and other random happenings

This weekend was busy for us doing random and necessary things around the house, but we did make time for our annual trip to the pumpkin patch on Saturday.  It was one of those beautiful October days that you wish would be all year round.  It was warm enough for no jackets and the sky was a bright blue with thin wispy white clouds.  Here’s a few pictures of our time…

Making our way through the corn maze; wondering which way to go.

029

Picking out JUST the right pumpkin.

092

Climbing and jumping on hay bales.

049

Playing in and around old tires.

172

Walking through haunted houses or standing from a far and admiring them. 

And finally at the end of our day taking a picture of all 3 of them looking in my direction and happily smiling at dusk; what a fun day!

187

Needless to say WE were all tired including Mom and Dad!

^^^^^

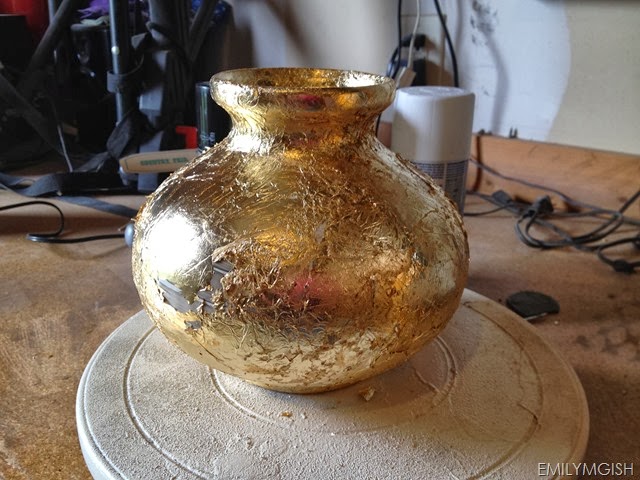
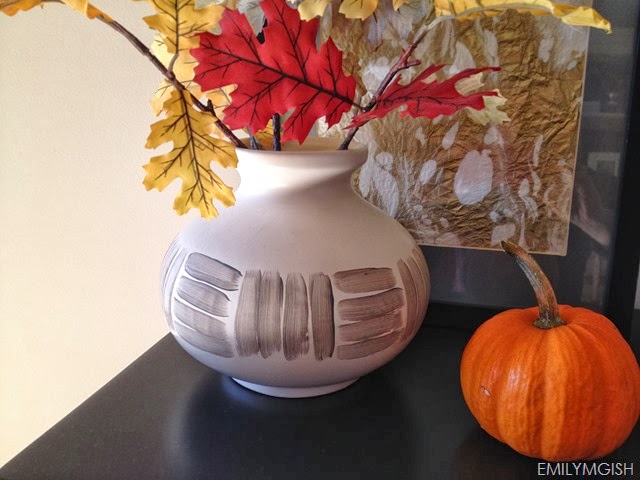
You remember this DIY vase I posted about on Friday?

011

Well….it now looks like this!

IMG_1711

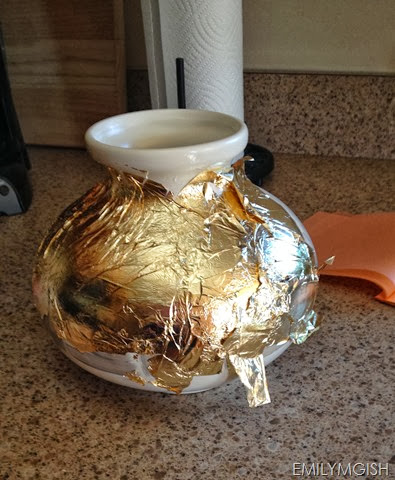
Or should I say it actually looks like this!

014

As you can see some of the gold leaf has rubbed off in areas.  This was NOT the look I was after!  It is now sitting in our garage waiting for the next step back to recovery.  Yes, a project gone very badly!  I have tried gold leafing in the past with no success.  I don’t know why I felt that this time was going to be different!  Never again gold leaf!

^^^^^

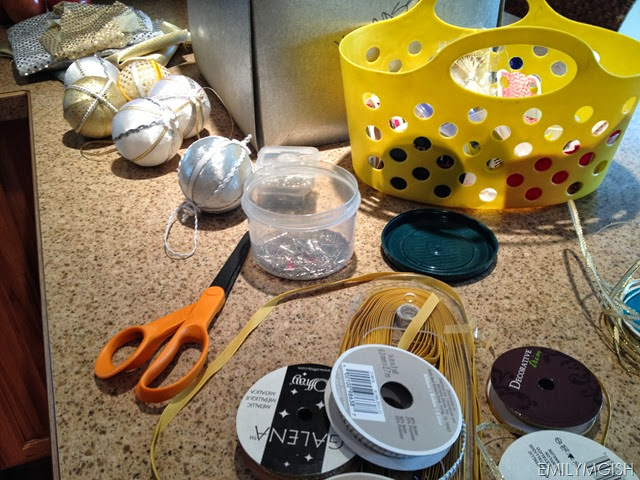
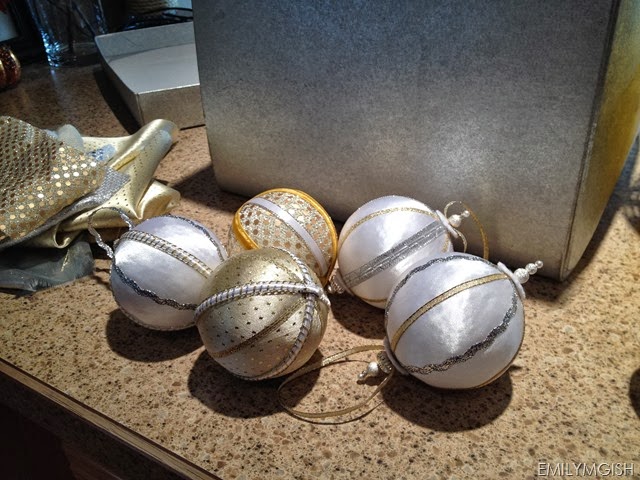
I worked on redoing some Christmas ornaments for a short time.  I know it’s early for Christmas but I want to get these done and hung on my tree this year.  So when else am I do to it?

004 

My color scheme for this year is white, silver and gold.  Gold will be a new color for me and I’m excited about it.  I’m envisioning it to be very glamorous!  Not that it really matters to the rest of the family, but I will like it!

001

There are fun and easy to make.  I originally got the idea from Martha Stewart.  I will have to show in more detail how I make mine.

^^^^^

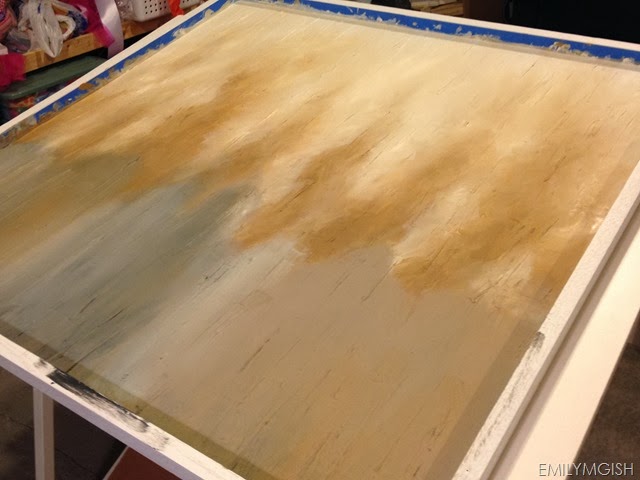
I did work on my painting this weekend and I’m so proud of myself that I actually have paint down.  I like the top portion of the painting but as you can see the bottom half has been painted over.  Plus my oldest daughter said it looked like “fire” and that totally is not what I intended.  But I guess isn’t that the point of art to the eye of the beholder?  But in any point I don’t want something to be remotely considered as fire hung in my living room. 

006

On to PLAN 1!  Yes, technically speaking that was plan 1 but I was just laying down paint.  There really was no rhyme or reason to what I was doing.  And as you can see it wasn’t going very well!

008

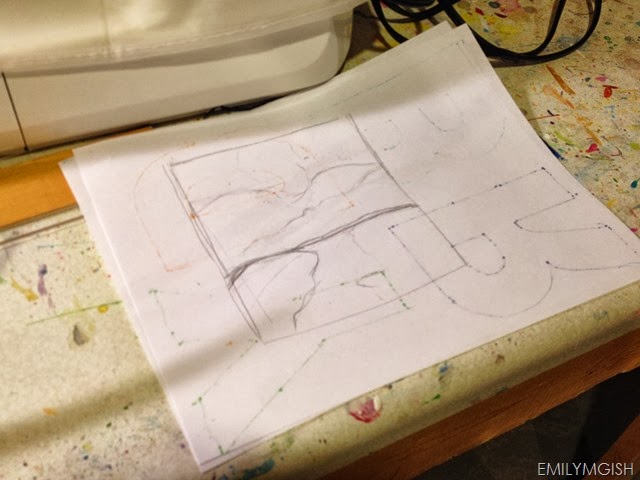
So I have a drawing now to base my thinking and painting on.  It’s a very limited drawing but I think it will work out this time.  To be continued!

^^^^^

In between all those things:

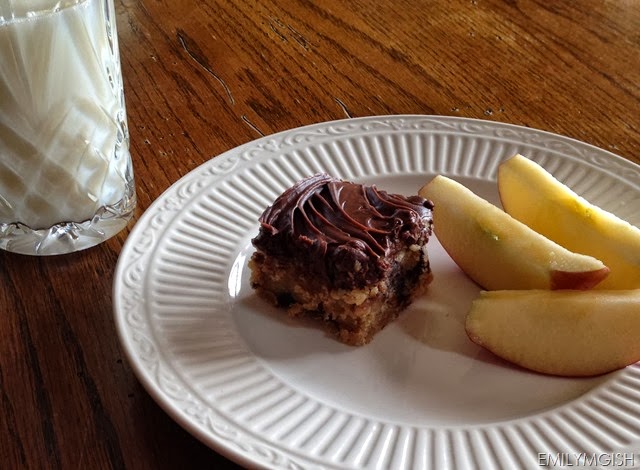
  there was laundry to do, washing all our sheets and putting them back on, doing a heavy duty cleaning of all 3 bathrooms, vacuuming and baking the best little snack ever.

010

It’s a peanut butter chocolate-chip cookie bar with chocolate frosting.

It’s no secret, I have such a sweet tooth.  My kiddos should be proud to have me as their Mom - baking all this sweet stuff!

I had to serve it with milk and some apple slices; tried to counterbalance some healthiness back into the snack.  It’s to die for!  Plus did I mention it’s gluten-free.  Even my husband who is not thought it was pretty darn good and he doesn’t say that too often about gluten-free. 

I’ll leave you with that picture.  Have a wonderful start of your week!

Thanks for stopping!

Bye for now.

Friday, October 18, 2013

DIY vase

Happy Friday to everyone once again!

I thought I would pop in and share with you my DIY vase. 

108

I’m sorry I didn’t take any before pictures, but my vase had a blue and yellow floral design.  I knew I wasn’t going to be using it as it was in my home again.  Instead of buying something new I decided I would transform this old vase that was just sitting in a basement cabinet.

011

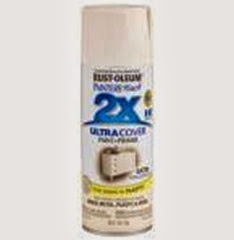
I started off with using this spray paint I bought at Home Depot.  It’s paint and primer all-in-one.

spray paint

It went on so smooth!  I would definitely use it again!  It can in a variety of colors.

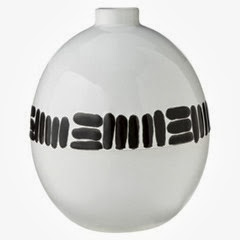
Below is an image from Nate Berkus’s new fall line at Target that I used as inspiration.  This vase is pure white with a solid black line.  I wanted a more off-white vase and I guess that’s the beauty of a DIY project; you can modify it to the way you want it to be.

14558152_201305271119

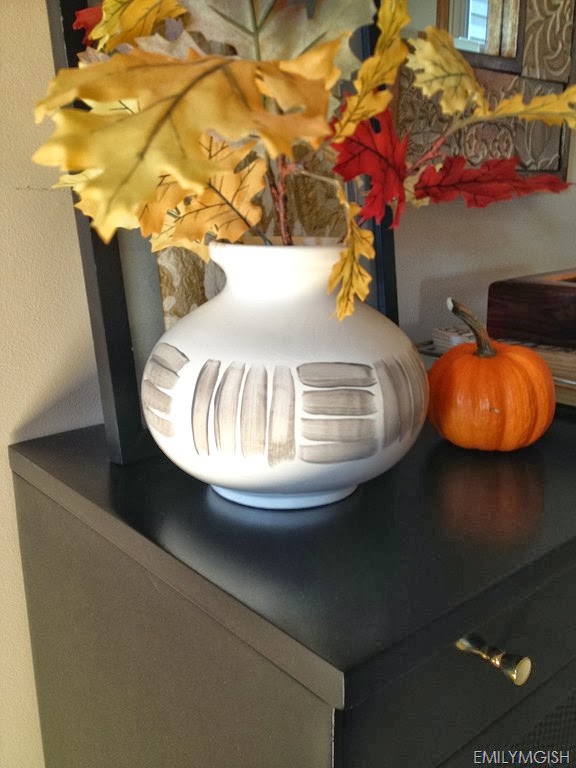
I do want my line to be more solid and I will probably go over it again.  I might even change the color of the line.  I worked on this project a couple of nights ago and my kids that I was insane.  I would do the lines and then wipe it off because I wasn’t happy with it.  That’s another good thing about a DIY project you can always paint over it or in this case I simply just wiped it off. 

013

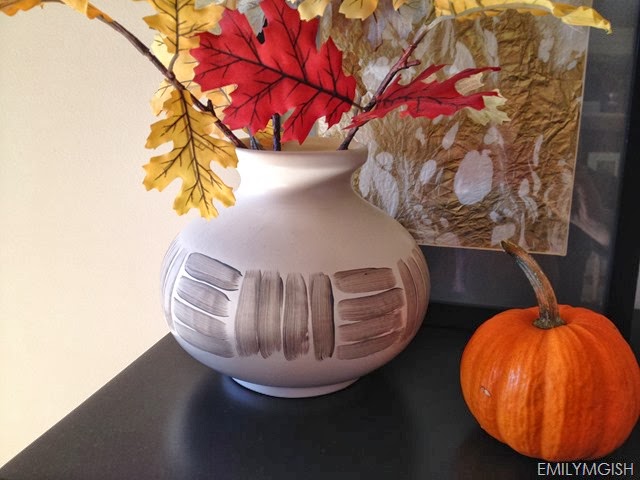
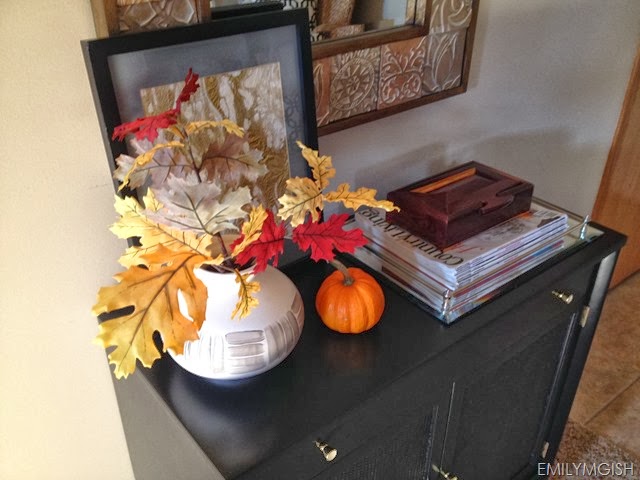
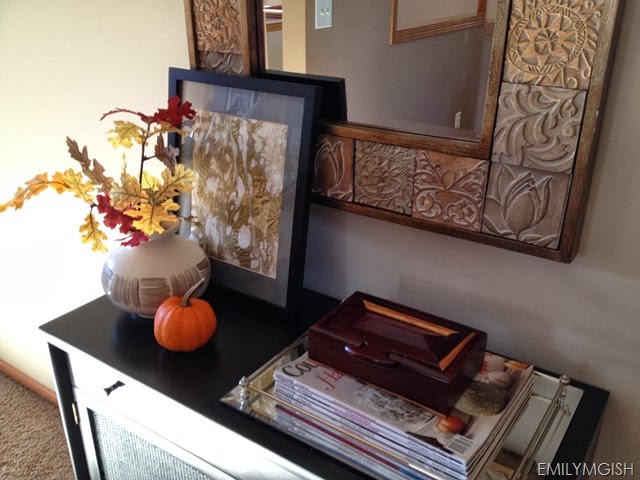
Right now I like the new look to this old vase.  It’s the perfect size for what I have happening on the cabinet. 

017

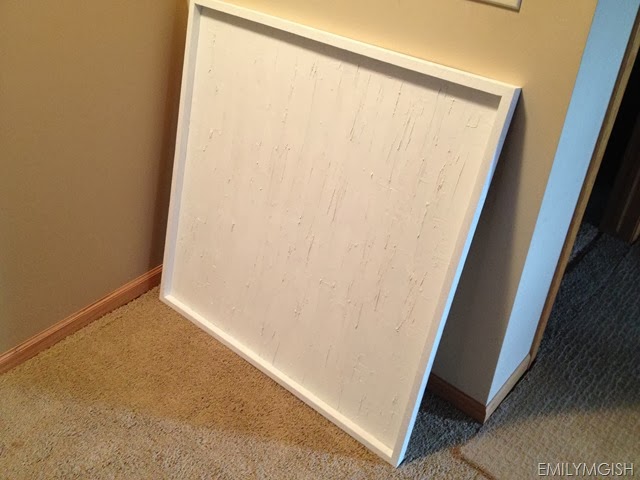
Lastly I will leave with an picture of a project that I hope to get started on this weekend.  It’s my painting that I will hang above our couch in the living room.  I added texture and my handy husband built a frame.  I don’t know where I would be if he wasn’t so willing to help me out or honestly so handy at doing stuff for me.

020

Have a wonderful weekend!

Thanks for stopping!

Bye for now.

Thursday, October 17, 2013

Styled book shelves reveal

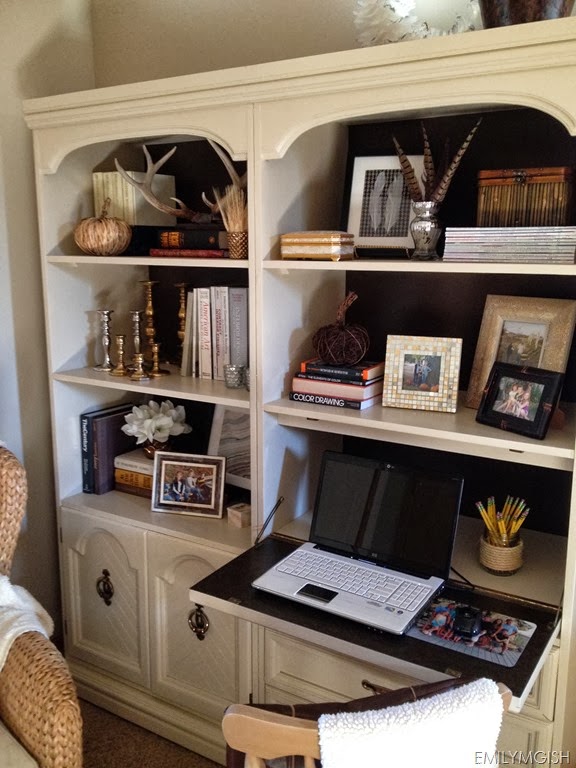
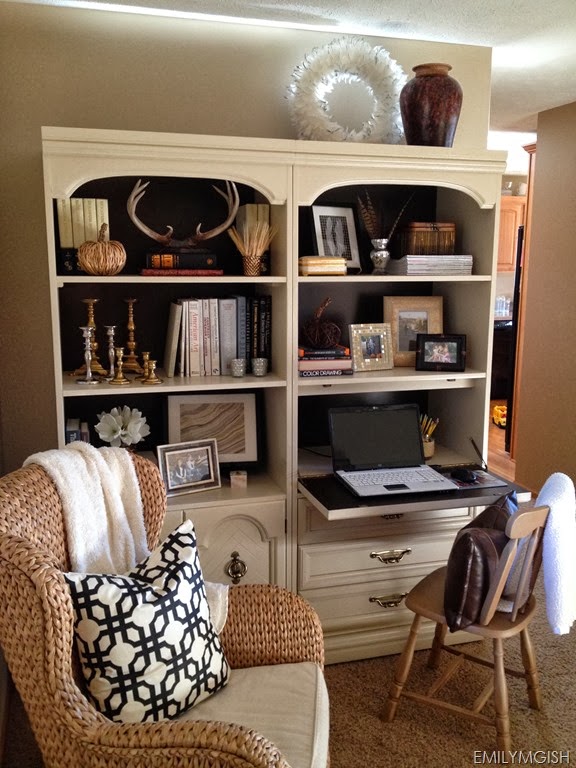
Our book shelves are finished and completed styled! 

You can read about my first craigslist purchase and the installation of these book shelves.

Book-shelves

I love how they look in our entry area and I am totally satisfied!  It definitely adds warmth and completes this small and awkward entry area.

I am finally at a point where I can say I am done!  I like each and ever shelf and the story it tells. 

First off…..I have to admit I was scared!  Scared of buying a ton of new items to fill each shelf.  Really scared that because the shelves were so deep it was going to take A LOT OF STUFF!  Buying new things WAS NOT an option.  I had to make due with what I had and to “shop my house”.

075

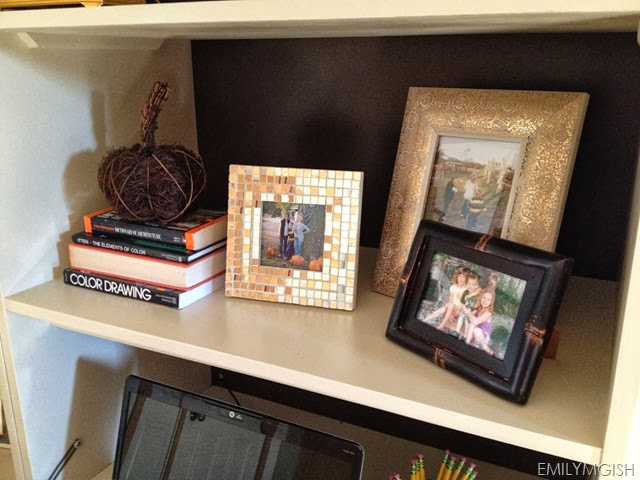
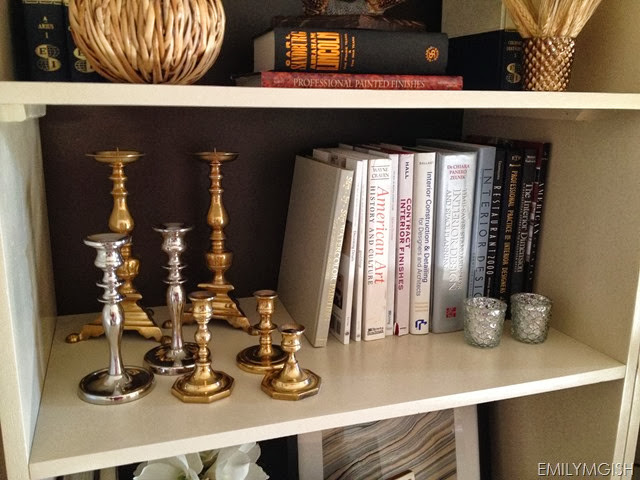
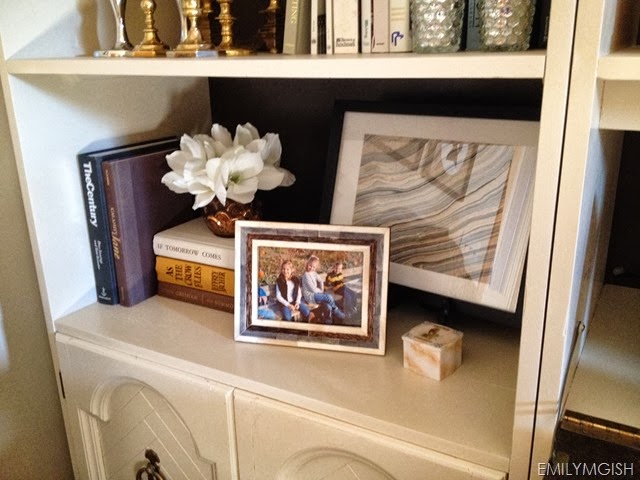
To contradict on what I just said, I did buy 3 new picture frames with birthday money and a gift card to Hobby Lobby.  So I guess it’s not really money out of my pocket.  My favorite item on both of the shelves has to be my newly purchased gold and silver mirrored picture frame.  It sparkles every time I walk by and reflects light from almost every angle.  That one piece started my so called “theme” of using gold and silver through out the book shelves.  I’ve done a mix of both and I really like how it’s looking.  I bought it at Hobby Lobby in their Christmas display area, but I think I will end of using it all year round.

087

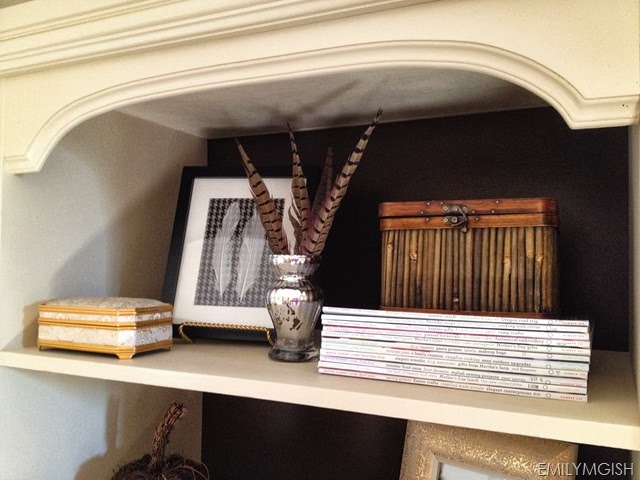
I have used treasured family heirlooms that are special to me in some areas….

085

and special items that are mine in other areas. 

094

It might be weird but I think I have a candle stick obsession!  I have several:  wood, brass, silver, glass and even rattan.  If I’m out shopping it’s one of the things I look at the most and I think that I need.  When in actuality have I several of the same kind at home.  I want to see how it would look if I burn down some candles to put in the candle sticks.

091

Favorite photos of my kiddos and marble-looking paper in all the right colors fill picture frames.  Right now the family photos are of fall scenes and I’m thinking I will switch them out as the seasons go.  Trinket boxes and flowers fill other spaces and color coordinating books laying flat or standing up fill other areas.

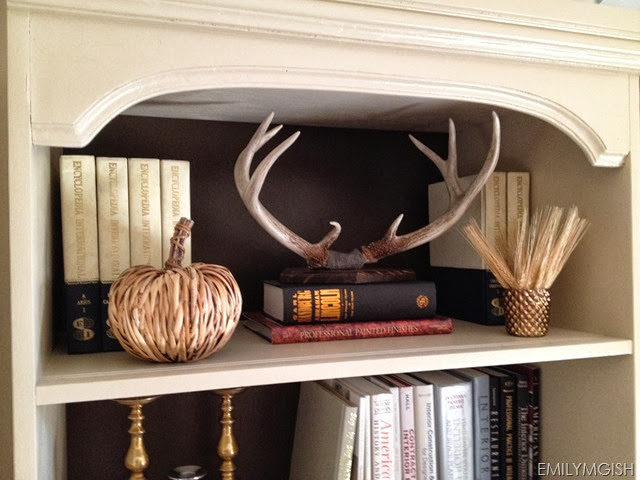
The item I’m most surprised at myself for including has to be my Dad’s deer antlers.  I never thought I would EVER EVER have antlers displayed in my house.  About a year ago I started noticing antlers hung in interiors of homes that were not log cabins or homes that had hunting memorabilia.  They were just hung for their beauty and for their sculptural nature. 

My book shelves may be deep but the height of the shelves itself was not big enough for me to prop the antlers up.  I had to lay them flat.  I’m actually preferring it anyways.  Yes, they are backwards as my husband pointed out but they just didn’t work with them turned around.

095

Finished!

I’ll tweak things from time to time and as the seasons go.  I can’t wait for Christmas time and infuse seasonal and wintery items.

097

Of course I still have my kiddos silhouettes.  They had to be moved a bit from the increase of the book shelves' depth.  If you are interested in making your own you can find my tutorial here.

102

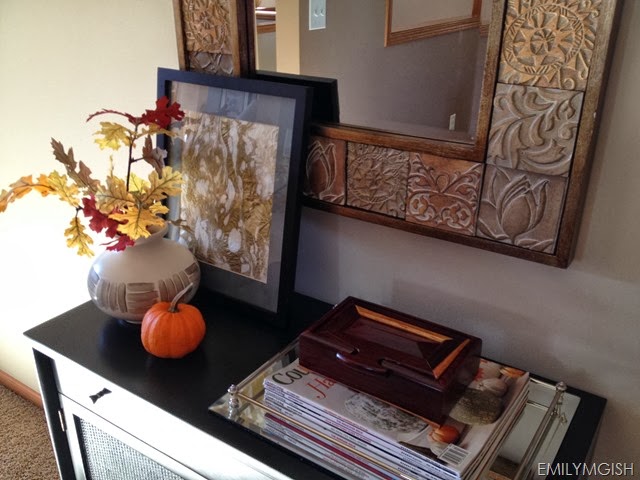
Onto the other side of the room, the black cabinet is finished with my mirror hung above.  BUT….I’m not totaled satisfied with it.  I mean everything is all nice and fine and I don’t want to change anything but it just seems sort of wimpy sitting up against the wall.  I’ve thought about adding some pictures on both sides of the mirror to add more presence on the wall.  Possibly adding a stool to one side and maybe an umbrella canister or a coat rack for the other.  I don’t know…have to see what I come across and what I can find.

114

109

Until then please take away one lesson from this post.  Use what you have!  I pulled things left and right from different rooms of the house switching things around seeing if it would work.  I pulled things from our bedroom, my daughters’ bedroom, boxes in the basement and even grandma’s house.  See what will work.  Change an item by painting it or using it in a different way.  If you tackle a project like this and before you buy a ton of new things, “shop your house”!   

Thanks for stopping!

Bye for now.

Linking to these parties:  Romantic Home, The Charm of Home, Jennifer Rizzo, Chic on a Shoestring Decorating, The Shabby Nest, French Country Cottage, Tatertots and Jello, Under the Table and Dreaming, Lamberts Lately, Living Well Spending Less, Finding Fabulous

Friday, October 4, 2013

onto the other side of the entry area

Happy Friday to everyone!  I thought I would update you all on my progress of our entry.

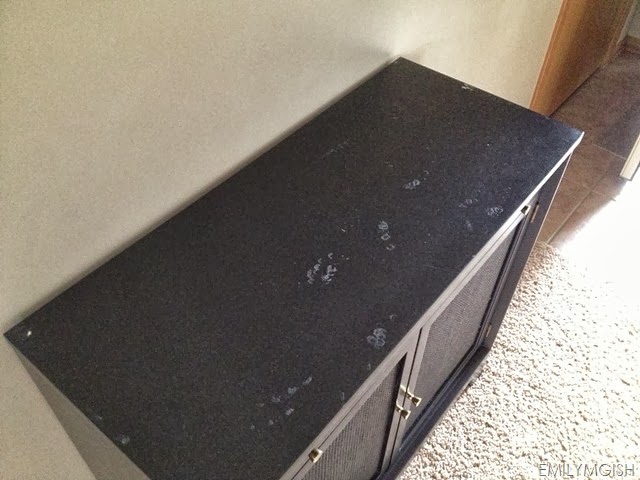
On the other side of our entry area, opposite from our book shelves, sat a lonely little black cabinet.

Here’s a picture of it I took a few weeks ago.

088

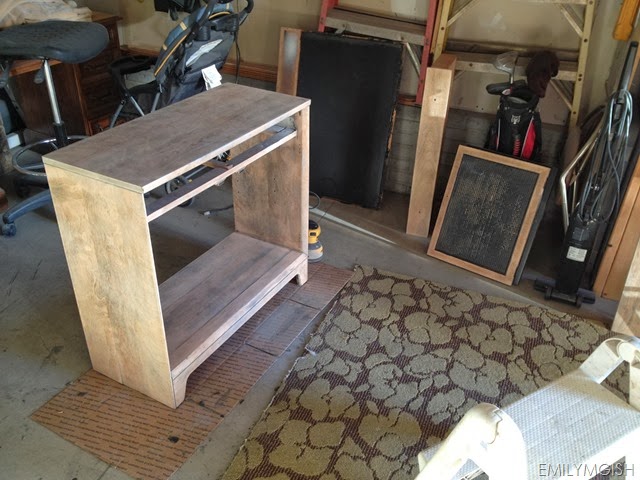
As you can see it needed work.  That’s not just marks but actual indents into the paint from a TV sitting on it for years.  I worked on stripping it a few nights ago and this is what it looks like in it’s current state.

218

Well kind of….

It’s a funny story…I went out to take this picture in the garage the morning after I worked on it.  As I’m clicking away I notice that most of it is finished.  I left it that night with the top and the sides finished not the whole thing!  I called my handy husband and he had gone back out to the garage and started working on the insides, drawer and the doors once everyone had gone to bed.  Awww what a lucky girl I am!  He knows that sanding is just not my thing and he went ahead and finished it.  I was dreading the inside (didn’t really know how I was going to get my scrapper there), but gosh it’s done!  No more worries!

I will be back very soon with this cabinet to show as well as styling the book shelves!

Thanks for stopping!

Bye for now.
Tuesday, October 1, 2013

book shelves are finished

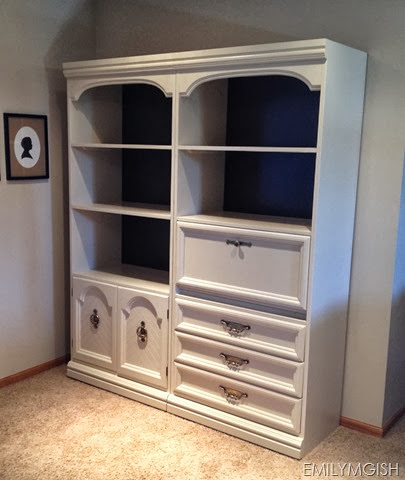
Yes you read it right.  After several months our book shelves are finished and installed in our house!

209

I couldn’t be more pleased with them!

You can read my post on when I purchased these shelves and progress we made.

I had some debates with myself over color, but in the end I went with our wall color (which I couldn’t tell you the name without looking) and painted the back a dark brown.  All of which we had!

I didn’t want to paint them a darker color because they are SO big they would have stuck out like a sore thumb.  And I didn’t want to paint them white or an off-white mainly because everything in our house is this color or a shade darker or lighter.  To be honest with you I actually got a quart of an off-white and we sprayed one side in the color and it just looked “beachy”.  It definitely was not the look I was after.

I decided to go with a dark color for the back mainly because it’s SO deep.  I’m hoping the color will trick the eye into thinking the shelves are narrower than they really are.  I don’t know if it’s really working but I like the two-tone look of them!

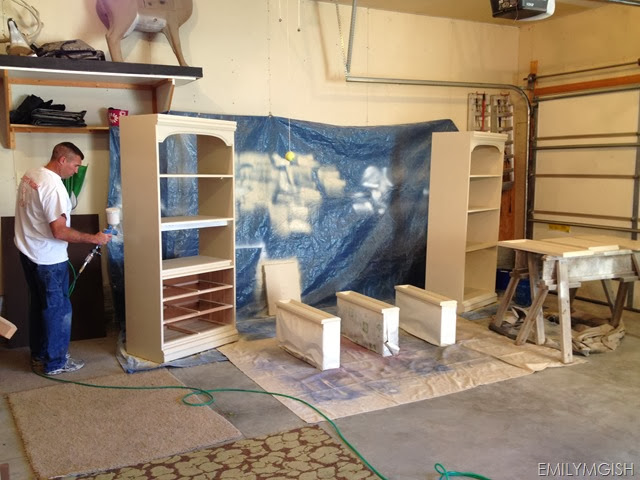
I thought I would show you a little of our progress…this was Saturday painting.  I guess I didn’t get a picture of Friday night priming.

189

Sunday morning we carried them in.  Believe me they were HEAVY and yes I helped! 

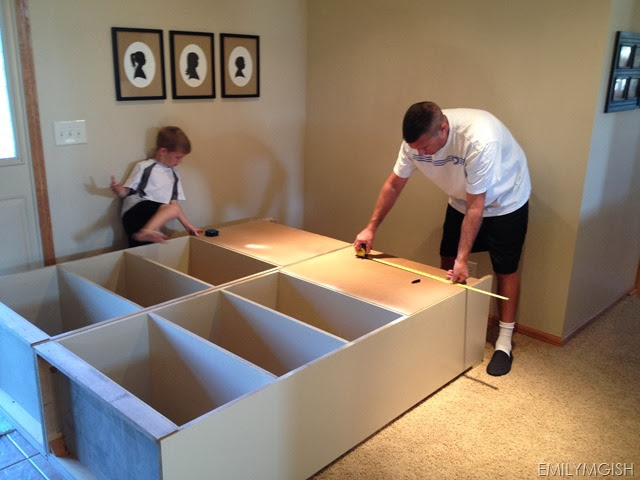
We talked about the placement of the book shelves on the wall over and over again.  This was only going to be done one time!  We cut into the backs for plug-ins and pass-through for cords.  I wanted these babies to be tight against the wall.  We even had to cut holes between them on the outer sides.  Yikes!  Unfortunately these shelves will always have to be in this configuration.  Hopefully I won’t regret that in the future!

196

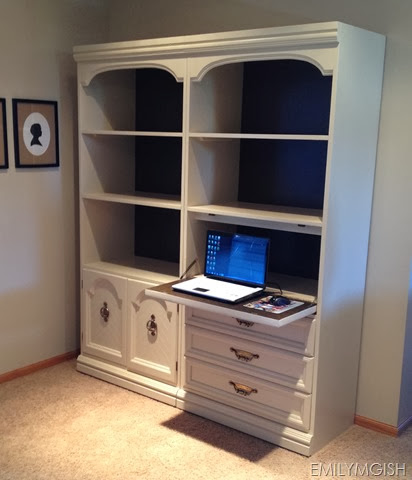
Here’s one last picture of the desk part of it folded down.  I think I’m most in love with this part!  The computer can be shut away when not in use and guests don’t have to see it when they visit.  In the shelves with the doors and I have our computer headquarters nicely tucked away behind closed doors.  I have yet to bring a cable and phone line up for our modem and router but that’s where it’s all going to be stored.

206

So what’s next…styling!  My fun part! 

I’ve got some things in place but I’ll wait to show you the shelves once everything is finished. 

I’m waiting on a few things…deer antlers for one shelf and possibly some old encyclopedias for another.  Yes you read that right again!  I’m so excited that my Dear-old-Dad has agreed to give me a set of antlers!  I know it might sound a little icky.  I thought it was probably a year ago but it’s grown on me and I want to embrace the trend!

Here’s a sneak peak at one of the shelves I worked on Sunday night.

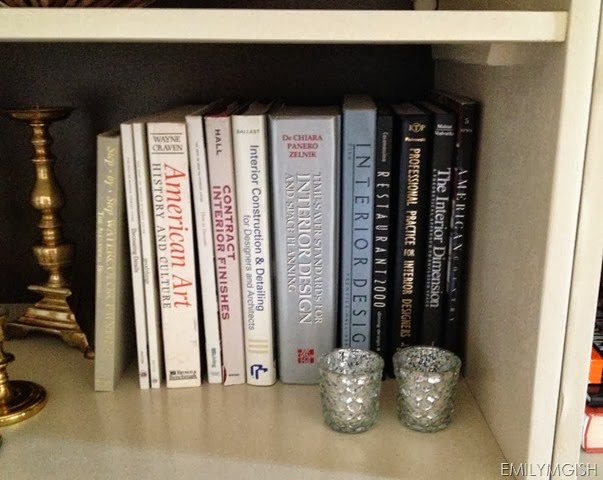
220

I dug out all of my senior year’s college text books from a box in the basement.  I can remember keeping them thinking I would use them for a reference as I started my professional career.  Well…I can tell you they have NEVER been opened since that last day of class!  Now they are out-of-date and I guess will just look pretty sitting on my shelves!

Thanks for stopping!

Bye for now.
Linking to these parties:  Miss Mustard Seed